
· By Thomas Pieper
Fix Your Game Controller's Thumb Pad with Bondic: A Step-by-Step Guide
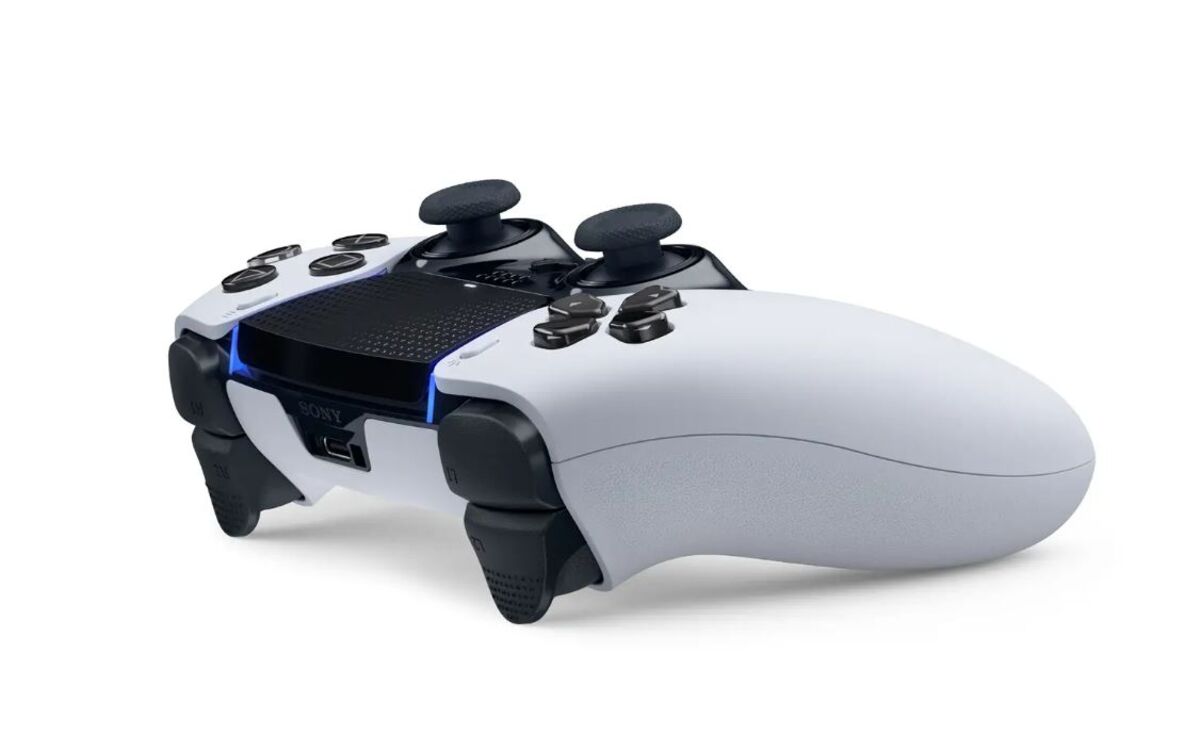
Picture this: you're in the middle of an intense gaming session when you realize your joystick pad is worn or torn. Frustration sets in, and you consider buying a new controller. But wait! With Bondic, the world's first liquid plastic welder, you can bring your joystick pad back to life and save your controller from an untimely end. In this guide, we'll break down the easy-to-follow 4-step process of using Bondic to restore your joystick pad, so you can get back to gaming without missing a beat.
Meet Bondic: Your New Repair Companion
Bondic is a cutting-edge liquid plastic welder designed to succeed where traditional glues have failed. Unlike old-fashioned adhesives that tend to dry out, Bondic remains liquid until you choose to cure it with the accompanying UV light. This versatile product can bond, build, fix, and fill a wide range of materials, including plastic, wood, metal, and even fabric. Now, let's dive into how to use Bondic to mend a damaged game controller joystick pad.
A Step-by-Step Guide to Restoring Your Controller's Joystick Pad with Bondic:
Step 1: Surface Preparation
First things first, you'll need to clean the surface of your controller's joystick pad. Make sure all oils, dirt, and debris are removed from the affected area. To establish a more durable bond, use a file or sandpaper to create a rougher surface texture. This will enable the Bondic Liquid Plastic to fill the grooves, forming a robust, microscopic mechanical bond with the surface.
Step 2: Bondic Application
Utilizing the applicator tip, generously apply Bondic Liquid Plastic to the area where the joystick pad is missing. Create a stronger bond by applying a substantial amount of liquid plastic. To reconstruct the missing joystick pad, use Bondic to build up the shape layer by layer, allowing each layer to cure before applying the next one. This process will help you form a brand-new pad for your controller.
Step 3: LED Curing Magic
Once you've applied the Bondic Liquid Plastic, it's time to cure it using the included UV light. Direct the UV light onto the liquid plastic for at least 4 seconds, and watch it solidify. Unlike traditional glues, Bondic hardens exclusively under UV light, giving you complete control over the curing process.
Step 4: Tailor the Final Touches
After the Bondic has set, grab a shaping tool, such as a file or sandpaper, to refine the shape of your newly reconstructed joystick pad. The hardened plastic is white, but feel free to paint, varnish, or color it to seamlessly match your controller's original appearance.
Bondic offers a fantastic solution for rescuing your beloved game controller by repairing the damaged joystick pad. With its simple 4-step process (prepare, apply, cure, and customize), Bondic becomes an indispensable tool for gamers and DIY enthusiasts alike.
So why not give it a shot and discover how it can transform the way you approach repairs and maintenance? Happy gaming!
If you find that you learn best through visual demonstrations, we encourage you to watch the accompanying video tutorial. The video provides a clear, step-by-step guide on how to repair your joystick pad with Bondic, making the process even easier to follow. So, don't hesitate to watch the video to gain a better understanding of how to restore your gaming controller to its former glory!
1 comment
-
FYI. I’ve yet to have your product successfully bond and hold ANYTHING!!! Rubber, plastic, paper it doesn’t stick or hold anything.
Yes, I clean and scuff etc. as per your directions.
A disappointing product. Sounded like you may have had something over glue there but no.Glen Kohlmeier on
